How Are Exterior Shutters Installed?
Exterior shutters do more than improve your home’s look. They add character, boost curb appeal, and even provide protection from the elements when installed the right way. But, like any home improvement project, the quality of the installation can make or break the results.
This guide explains everything you need to know about installing exterior shutters. Whether you’re a DIY enthusiast or just starting your first project, you’ll learn how to get it done right and make your home stand out.
Understanding Exterior Shutters
Exterior shutters come in a variety of styles, materials, and purposes. Knowing the differences can help you pick the right shutters for your home and install them correctly.
Types of Exterior Shutters
Panel Systems
These shutters are typically made from plywood, metal, or polycarbonate plastic. They’re known for their sturdy design and are often used for storm protection.
Accordion Shutters
These shutters feature interlocking vertical blades that slide horizontally. They’re easy to operate and provide great coverage for larger windows.
Roll-Up or Rolling Shutters
These shutters use a series of slats that form a curtain, which rolls onto an axle. They’re excellent for both security and weather protection.
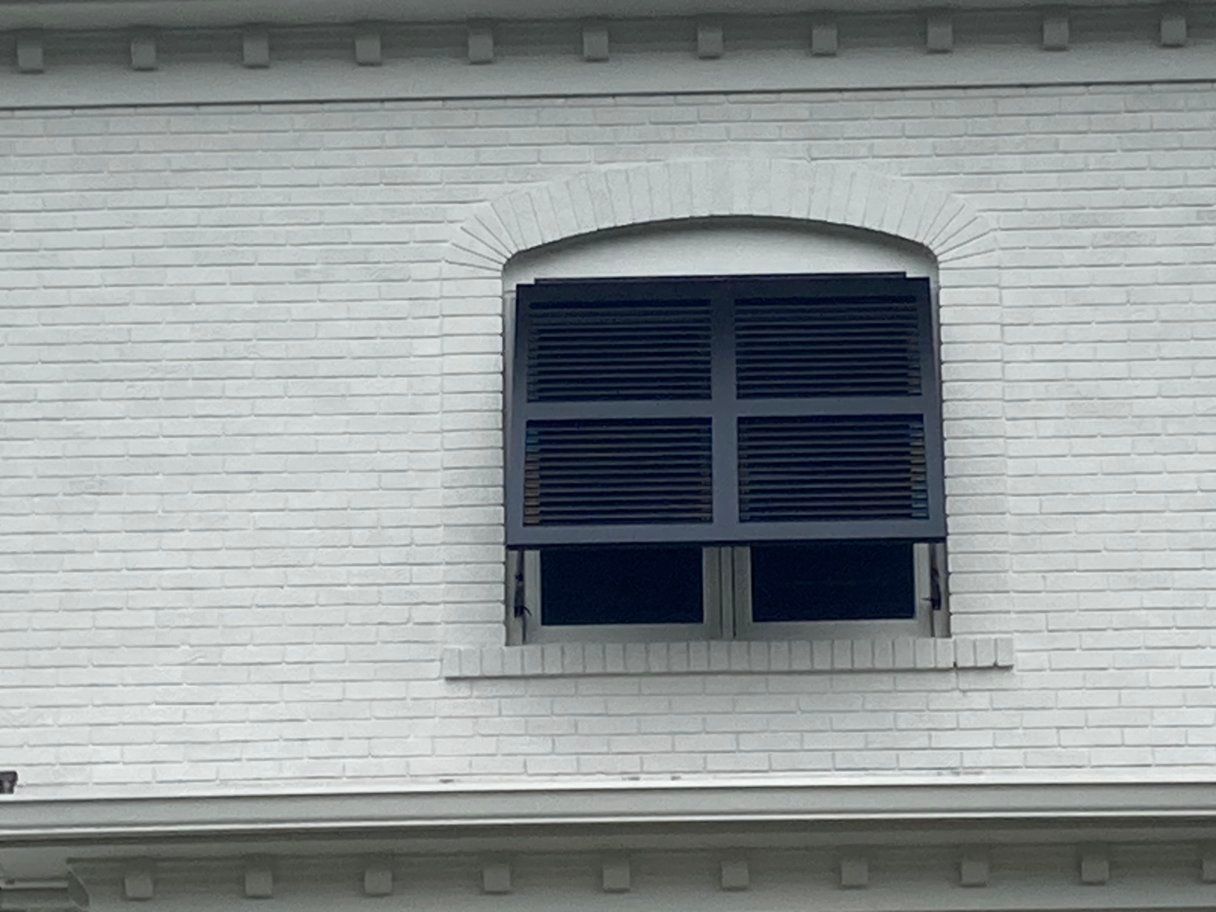
Bahama Shutters
Mounted above windows, Bahama shutters open outward at an angle, offering shade and tropical aesthetics.
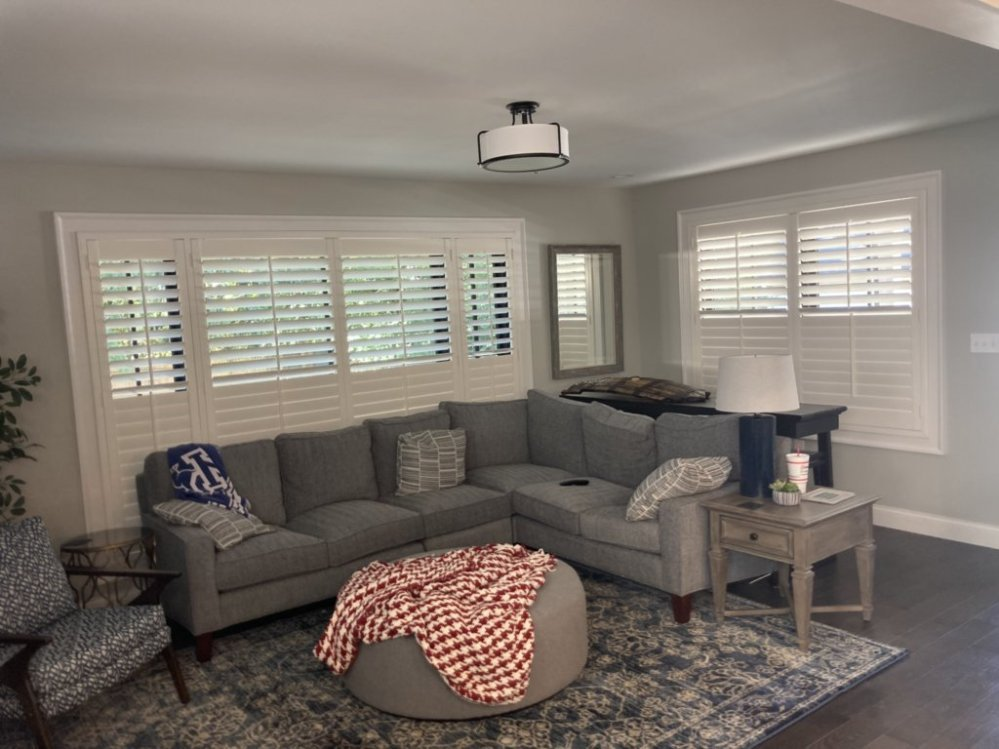
Colonial Shutters
Hinged on the sides, these shutters swing shut to cover the window. They’re both decorative and functional.
Hurricane Fabric Coverings
Made from durable materials like polypropylene fibers or PVC, these are lightweight and easy to install in storm-prone areas.
Materials Used
Wood
Traditional and stylish, wood shutters provide a classic look. They require regular maintenance to prevent rot and damage.
Vinyl
Affordable and low-maintenance, vinyl shutters are resistant to fading and warping, making them ideal for decorative purposes.
Composite
These shutters combine the look of wood with the durability of synthetic materials, offering a balance of style and longevity.
Metal
Typically made from aluminum or steel, metal shutters are durable and often used for security and storm protection.
Functional vs. Decorative Shutters
Functional Shutters
Designed to open and close, these shutters offer protection from storms, privacy, or light control.
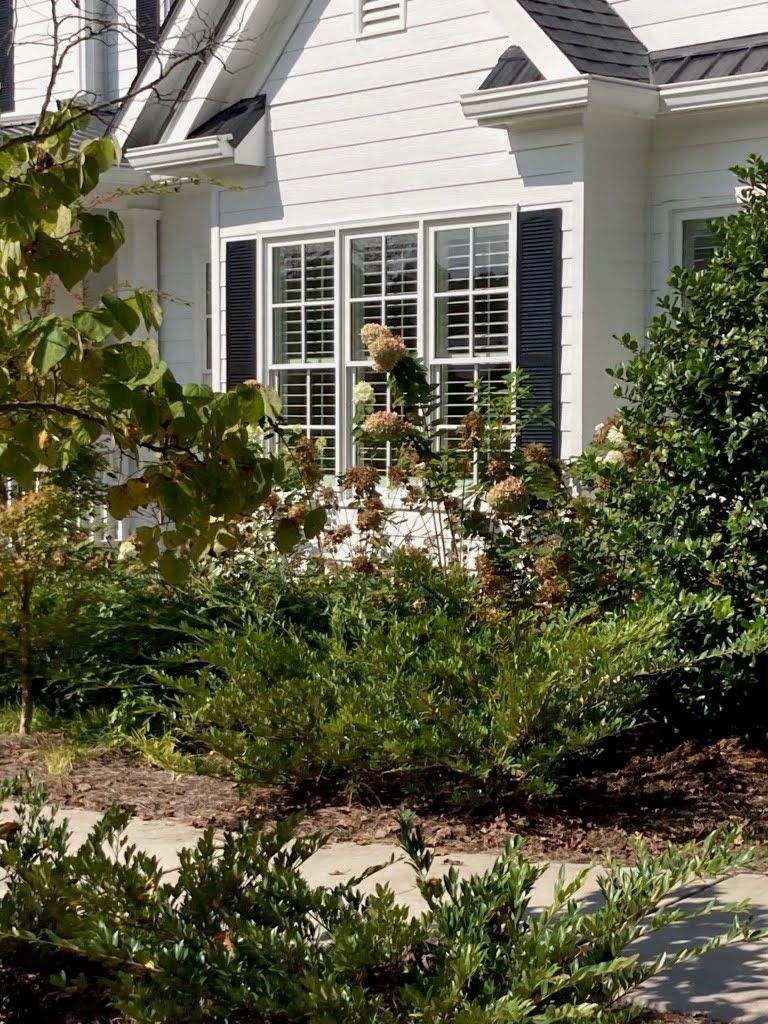
Decorative Shutters
These are fixed in place and used purely for aesthetic purposes, adding style without operability.
Preparing for Installation
Proper preparation is key to a successful shutter installation. Taking the time to measure accurately, choose the right shutters, and gather the necessary tools will save you headaches later.
Measuring Your Windows
- Measure Window Height
Measure the height of your window opening from top to bottom. If your window has a frame, include it in your measurements. - Measure Window Width
Measure the width of the opening from left to right. For functional shutters, this is crucial to ensure they cover the window completely when closed. - Double-Check Your Measurements
Double-check all dimensions to avoid mistakes that could lead to ill-fitting shutters.
Selecting the Right Shutters
- Size and Shape
Choose shutters that match your window dimensions. For a more authentic look, align dividing rails in the shutters with the window sashes. - Material Suitability
Consider weather conditions and your home’s style when selecting materials. For example, wood may suit traditional homes, while vinyl works well in humid climates. - Style Preference
Pick a style that complements your home’s architecture, whether it’s colonial, modern, or tropical.
Gathering Necessary Tools and Materials
- Tools You’ll Need
- Drill
- Screws
- Level
- Measuring tape
- Pencil or marker
- Materials Required
- Shutters
- Mounting hardware
- Paint or finish (if shutters aren’t prefinished)
With accurate measurements, the right shutters, and all your tools ready, you’re prepared to start installing.
Step-by-Step Installation Guide
Installing exterior shutters requires precision and attention to detail. Follow these steps to ensure your shutters are securely and properly installed.
Marking the Shutter Position
- Hold the Shutter in Place
Align the shutter next to the window where it will be installed. Use a level to ensure it’s straight. - Mark Screw Hole Locations
Using a pencil or marker, indicate where the screws or mounting hardware will go. Make sure the markings are evenly spaced for a secure fit.
Drilling Pilot Holes
- Choose the Right Drill Bit
Select a drill bit that matches the size of your screws. This will prevent splitting or cracking during installation. - Drill Holes in the Shutter
Drill pilot holes in the marked locations on the shutter. This step makes it easier to attach the screws and prevents damage to the material. - Drill Holes in the Siding (if needed)
For certain siding materials like brick or stucco, drill pilot holes directly into the surface. Use masonry bits for hard materials.
Attaching the Shutters
- Align the Shutters
Position the shutters against the wall, aligning them with the pilot holes. - Secure the Shutters
Insert screws through the shutter holes into the pilot holes on the wall. Tighten the screws, but avoid overtightening to prevent warping or cracking. - Check Alignment
Use a level to ensure the shutters are straight. Adjust if necessary before fully securing all screws.
Special Considerations for Different Siding Materials
Vinyl Siding
Allow space for expansion and contraction by not overtightening screws. Use spacers if needed.
Brick or Masonry
Use masonry anchors to provide a secure hold. Ensure the anchors are flush with the wall to avoid gaps.
Wood Siding
Shutters can usually be screwed directly into the wood. Be cautious of splitting by drilling pilot holes first.
Following these steps will result in sturdy, well-installed shutters that enhance your home’s look and functionality.
Enhancing Shutter Functionality and Aesthetics
Once your shutters are installed, you can take extra steps to make them more functional and visually appealing. Adding decorative hardware and finishing them properly will give your home a polished, customized look.
Adding Hardware
- Decorative Hinges
Attach decorative hinges to give your shutters an authentic, old-world charm. Even if your shutters are fixed, hinges can create the illusion that they’re operable. - Shutter Dogs (Holdbacks)
Install shutter dogs, which are decorative pieces that hold shutters open. These add character and keep the shutters from slamming against the wall. - Functional Hardware
For operable shutters, install proper latches and locks to ensure they stay securely in place during use.
Painting and Finishing
- Choose the Right Paint or Stain
Select high-quality exterior paint or stain that matches your home’s color scheme. For wooden shutters, use a weather-resistant finish to protect against moisture and UV damage. - Seal the Edges
Pay special attention to the edges of wooden shutters. Sealing these areas helps prevent water penetration and prolongs their lifespan. - Apply Multiple Coats
Apply at least two coats of paint or stain for even coverage and durability. Allow sufficient drying time between coats.
Taking these extra steps not only improves the look of your shutters but also ensures they last for years to come.
Maintenance Tips
Proper maintenance keeps your exterior shutters looking great and functioning well over time. Here are practical tips to ensure their longevity:
Regular Cleaning
- Remove Dirt and Dust
Use a soft cloth or a sponge with mild soap and water to wipe down the shutters. Rinse with a garden hose to remove soap residue. - Avoid Harsh Cleaners
Skip abrasive cleaners that can damage the finish or paint.
Inspect for Damage
- Check for Cracks and Warping
Look for signs of wear, like cracks, warping, or discoloration. Address issues promptly to avoid further damage. - Tighten Screws and Hardware
Periodically check that all screws and hardware are secure. Tighten any loose components.
Repainting or Resealing
- Refresh the Finish
For wooden shutters, repaint or reseal them every 2–3 years to protect against weather damage. - Repair Peeling Paint
Sand down peeling areas and repaint to maintain a clean, polished look.
Lubricate Moving Parts
- Keep Hinges Functional
Apply a light lubricant to hinges and operable hardware to prevent rust and ensure smooth movement.
Protect Against Pests
- Inspect for Insects
Check wooden shutters for signs of termites or other pests. Treat immediately if you find any activity.
Adjust for Seasonal Changes
- Reassess After Weather Events
After storms or extreme weather, inspect shutters for alignment issues or structural damage.
Avoid Harsh Chemicals
- Stick to Gentle Cleaning Products
Use non-abrasive cleaners to preserve the finish and avoid discoloration.
These simple steps will help you maintain your shutters’ appearance and functionality for years to come.
Conclusion
Installing exterior shutters is a straightforward way to enhance your home’s curb appeal, protect your windows, and add a personal touch. With the right tools, preparation, and maintenance, your shutters can last for years and keep your home looking its best.
If you’re looking for high-quality shutters and blinds in Lexington, Louisville, Richmond, Georgetown, KY, or Cincinnati, OH, trust Commonwealth Shutters and Blinds. They specialize in plantation shutters, Bahama shutters, and exterior shutters, as well as custom solutions like special-cut windows, high window treatments, faux wood and wood blinds, roller shades, honeycomb shades, and Roman shades. Their expert team delivers precision, style, and functionality for every home.
Transform your windows and elevate your home’s look with Commonwealth Shutters and Blinds. Contact them today for professional advice and premium window solutions!
Frequently Asked Questions
Can I install exterior shutters on all types of siding?
Yes, you can install shutters on any siding type, but the method may vary. For vinyl siding, leave room for expansion. For brick or stucco, use masonry anchors for secure attachment.
What tools do I need to install shutters?
You’ll need a drill, screws, a level, measuring tape, a pencil, and potentially masonry anchors if you’re working with brick or stucco.
Are decorative shutters different from functional shutters?
Yes, decorative shutters are fixed in place and serve an aesthetic purpose, while functional shutters can open and close, providing protection or privacy.
How often should I repaint wooden shutters?
Repaint or reseal wooden shutters every 2–3 years, depending on exposure to weather and sunlight. Regular maintenance helps protect against moisture and UV damage.
Can I install shutters myself, or should I hire a professional?
If you’re comfortable with basic tools and measurements, you can install shutters yourself. For complex projects or special materials, hiring a professional ensures a perfect result.
How do I maintain exterior shutters?
Clean them regularly, inspect for damage, and repaint or reseal as needed. Lubricate moving parts for operable shutters and treat wooden ones for pests if necessary.
What are Bahama shutters best for?
Bahama shutters are great for shade and protection in tropical or coastal regions. They provide a unique, airy look while safeguarding windows.
What’s the best material for exterior shutters?
It depends on your needs. Wood offers a classic look, vinyl is low-maintenance and affordable, and metal provides superior durability and security.